Server Pilot has just released a companion app into beta called Data Shuttle. The primary purpose of this app is to allow users to move their existing app over to ServerPilot. The more important feature for current Server Pilot users is that it allows apps to be duplicated on the same server, or copied from one server to another.
This is a Huge feature, because it allows for things like:
- Setting up a staging site to test before updates
- Quickly moving app to a new server, when the Ubuntu OS version goes out of support
- Having a Base WP site setup with your toolbox of theme and Plugin preinstalled, that you can quickly copy and get started on the next big project.
- Quick Load Balancing if an app is getting heavy traffic and you want to move it on its own server.
- Deliver An app to a client also hosted on Server Pilot.
All this and it’s free! The app is still in beta, so it’s a bit rough, but it seems to work great. I am hopeful that they might give some integrations with Server Pilot to make it a bit less manual, but as long as you have your passwords handy, it’s really VERY simple.
Before you get started, you will need the System user account username and password for the site you want to move, and well as the web root URL for the site you want to move.
You can find more info about Data Shuttle here: https://datashuttle.io/
This process takes about 3-5 minutes to set up, and then about 1-5 minutes for the migration to run(depending on the site of the site you are moving), so in less than 10 minutes, you can have a migration completed, which is just amazing. The quickest I could do this the old way
The Walkthrough:
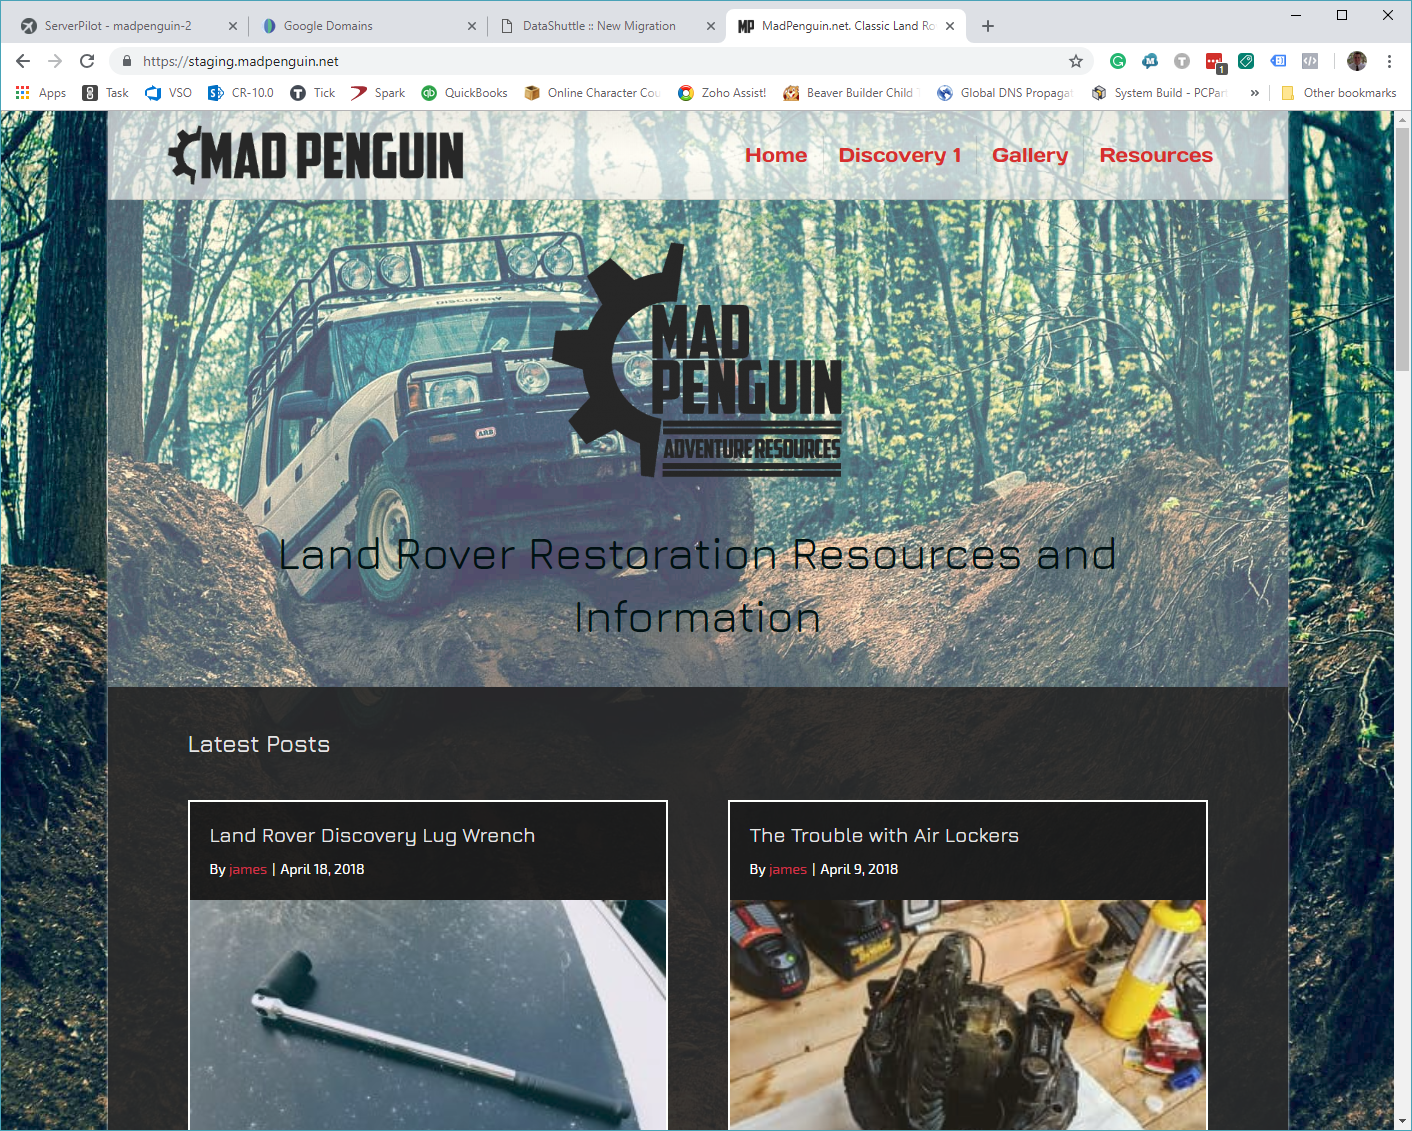
In this example, we are creating a staging site for my personal Blog site, MadPenguin.net, so I can test WordPress 5.0 Compatibility.
Step 1:
Login to your DNS Provider and add a new A record pointing to the IP address of the server you want to use.

Step 2:
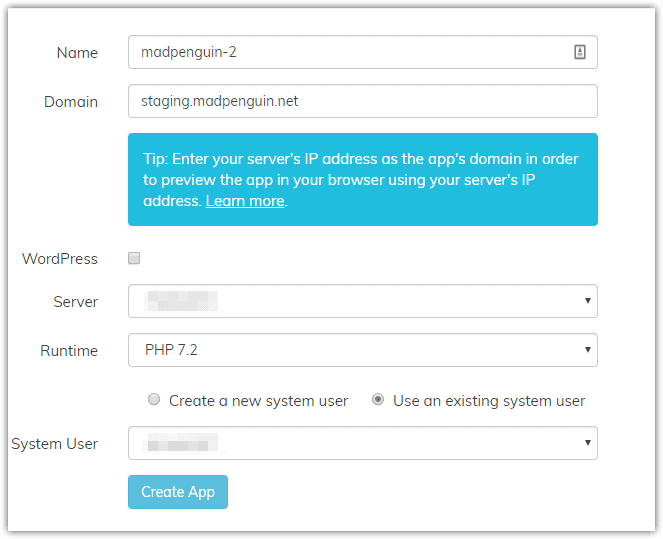
Login to ServerPilot and
Take note of your system user username and password if you’re setting up a new system user, OR find the password for a current user- you will need that later.
Step 3:
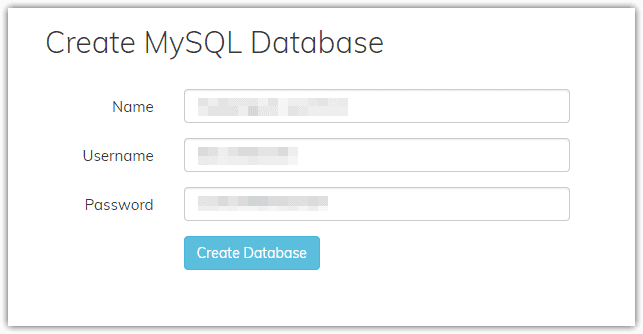
Setup a New Database on the app, the database is the third menu option on Server Pilot Sidebar when you open an app. Take note of the Name, Username, and Password, you will need that later.
Step 4:
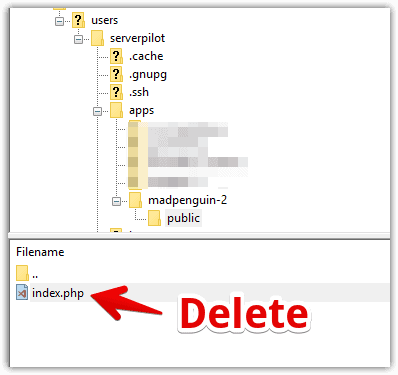
Log into the new app via FPT, and delete the index.php file. Data Shuttle has a s
Step 5:
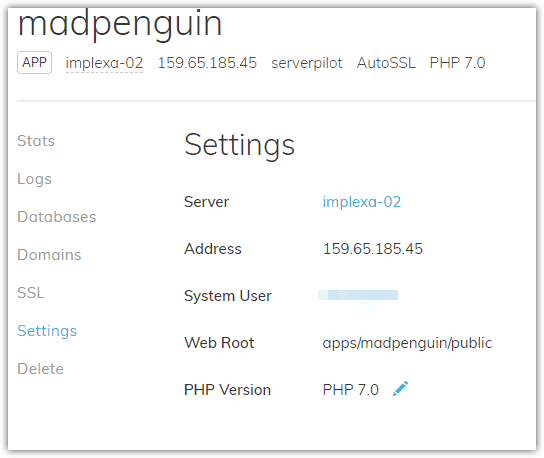
Take note of the source and target directories of the apps you want to move. You can find this under the Web Root on the App settings, in this case, it’s apps/
Step 6:
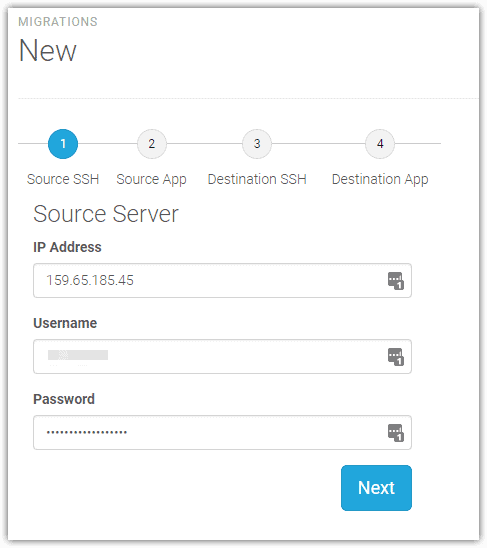
Go To Data Shuttle and start a new migration. Input the IP address of the source server and the Server Pilot user account for the source App, and click next. Data Shuttle will test to make sure it can access, if it can, it will move on to step 2.
Step 7:
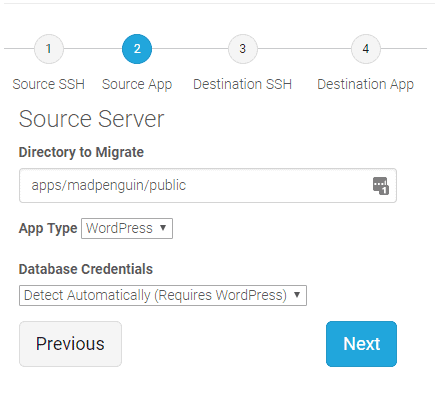
Paste in the Web Root URL for the source app and use App type of WordPress with the DatabaseCredentials being Detect Automatically, and select next. Again Data shuttle will test, and then move on to the next step.
Step 8:
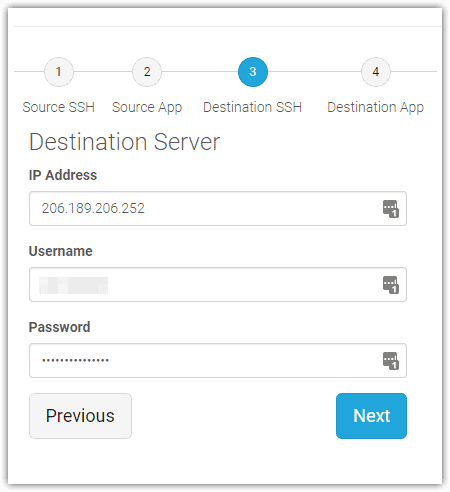
Here we give Data Shuttle the credentials for the target server, this was defined when you set up the app in Step 2. Again on the selection of next, Data Shuttle will test and then move on.
Step 9:
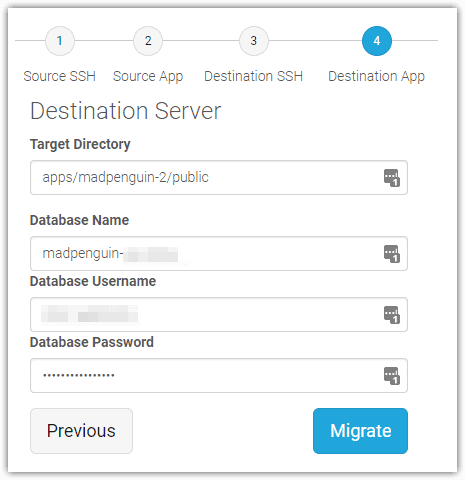
Provide the Destination App info, the target directory(from the app you set up in Step 2) as well as the database creds you set up in step 3. Press
Step 10:
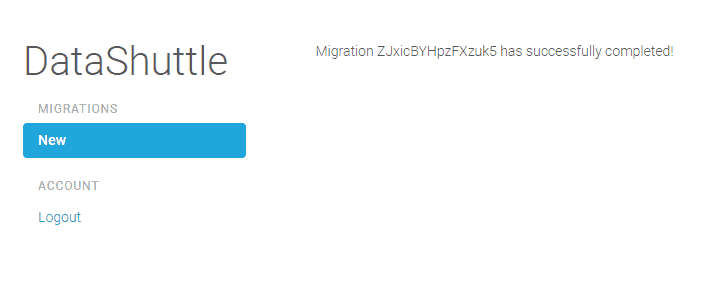
Wait for a few minutes. The two sites I ran were between 1-5 minutes. The screen will refresh a few time until you get the message below!
Step 11:
By this time, the AutoSSL should have caught up (why we setup the DNS in step 1) and you can go to your app and enable SSL for your new domain. Once that is done go Check out our new site!
